Four Ways to Preserve Elderberries without canning
Can’t can? You can too! Here are four ways to preserve elderberries without canning. Elderberries are a medicinal powerhouse and are probably best known for helping fight colds and flu, although historically elderberries have also been used as a fever reducer and a diuretic. More recently it has been found that they have antibacterial, antiviral, antitumor, and hypoglycemic properties as well. Elderberries contain antioxidants as well as high amounts of Vitamin A, Vitamin C, potassium, calcium, folate, and iron. But, like many things, they are only available once a year during a short season.
Before we continue, just a reminder that elderberries need to be cooked to be edible. Raw elderberries, and especially raw red elderberries, have historically been used to induce vomiting and sweating. The bark, leaves, stems, and seeds of the elderberry are poisonous. The seeds are hard to remove from the small berries so thankfully the toxic lectins and cyanide in the seeds are rendered harmless after cooking.
Can you can elderberries?
Here at Mossygoat Farm, we use an older version of the Ball Blue Book of Preserving, copyright 2008. This version of the Ball Blue Book mentions elderberries as safe to can. I have canned elderberry syrup in the past. You can read about that here. I have also made jam out of a mix of elderberries and blackberries. However, some recent testing is suggesting that elderberries are unsafe for canning unless pressure canning is used. This is due to low acidity. Because the acidity of elderberries cannot be tested at home, it is no longer recommended that you add lemon juice to add acidity in order to safely water bath can. Home preservers come in two camps. Those who follow every letter of the law and those who are more loosey goosey (except when it comes to pressure canning). I will not recommend anyone to do anything but follow current standards. What you do in your own kitchen is up to you.
Due to uncertainty in canning, here are 4 ways to preserve elderberries without canning. Step one for every method of preserving elderberries is going to be to destem the berries. This is easily done by running your fingers down the stems and removing the berries. Some people run a fork down the stems. However, I tried the fork method and elderberries went flying everywhere, so I will continue just using my fingers.
Dehydrating
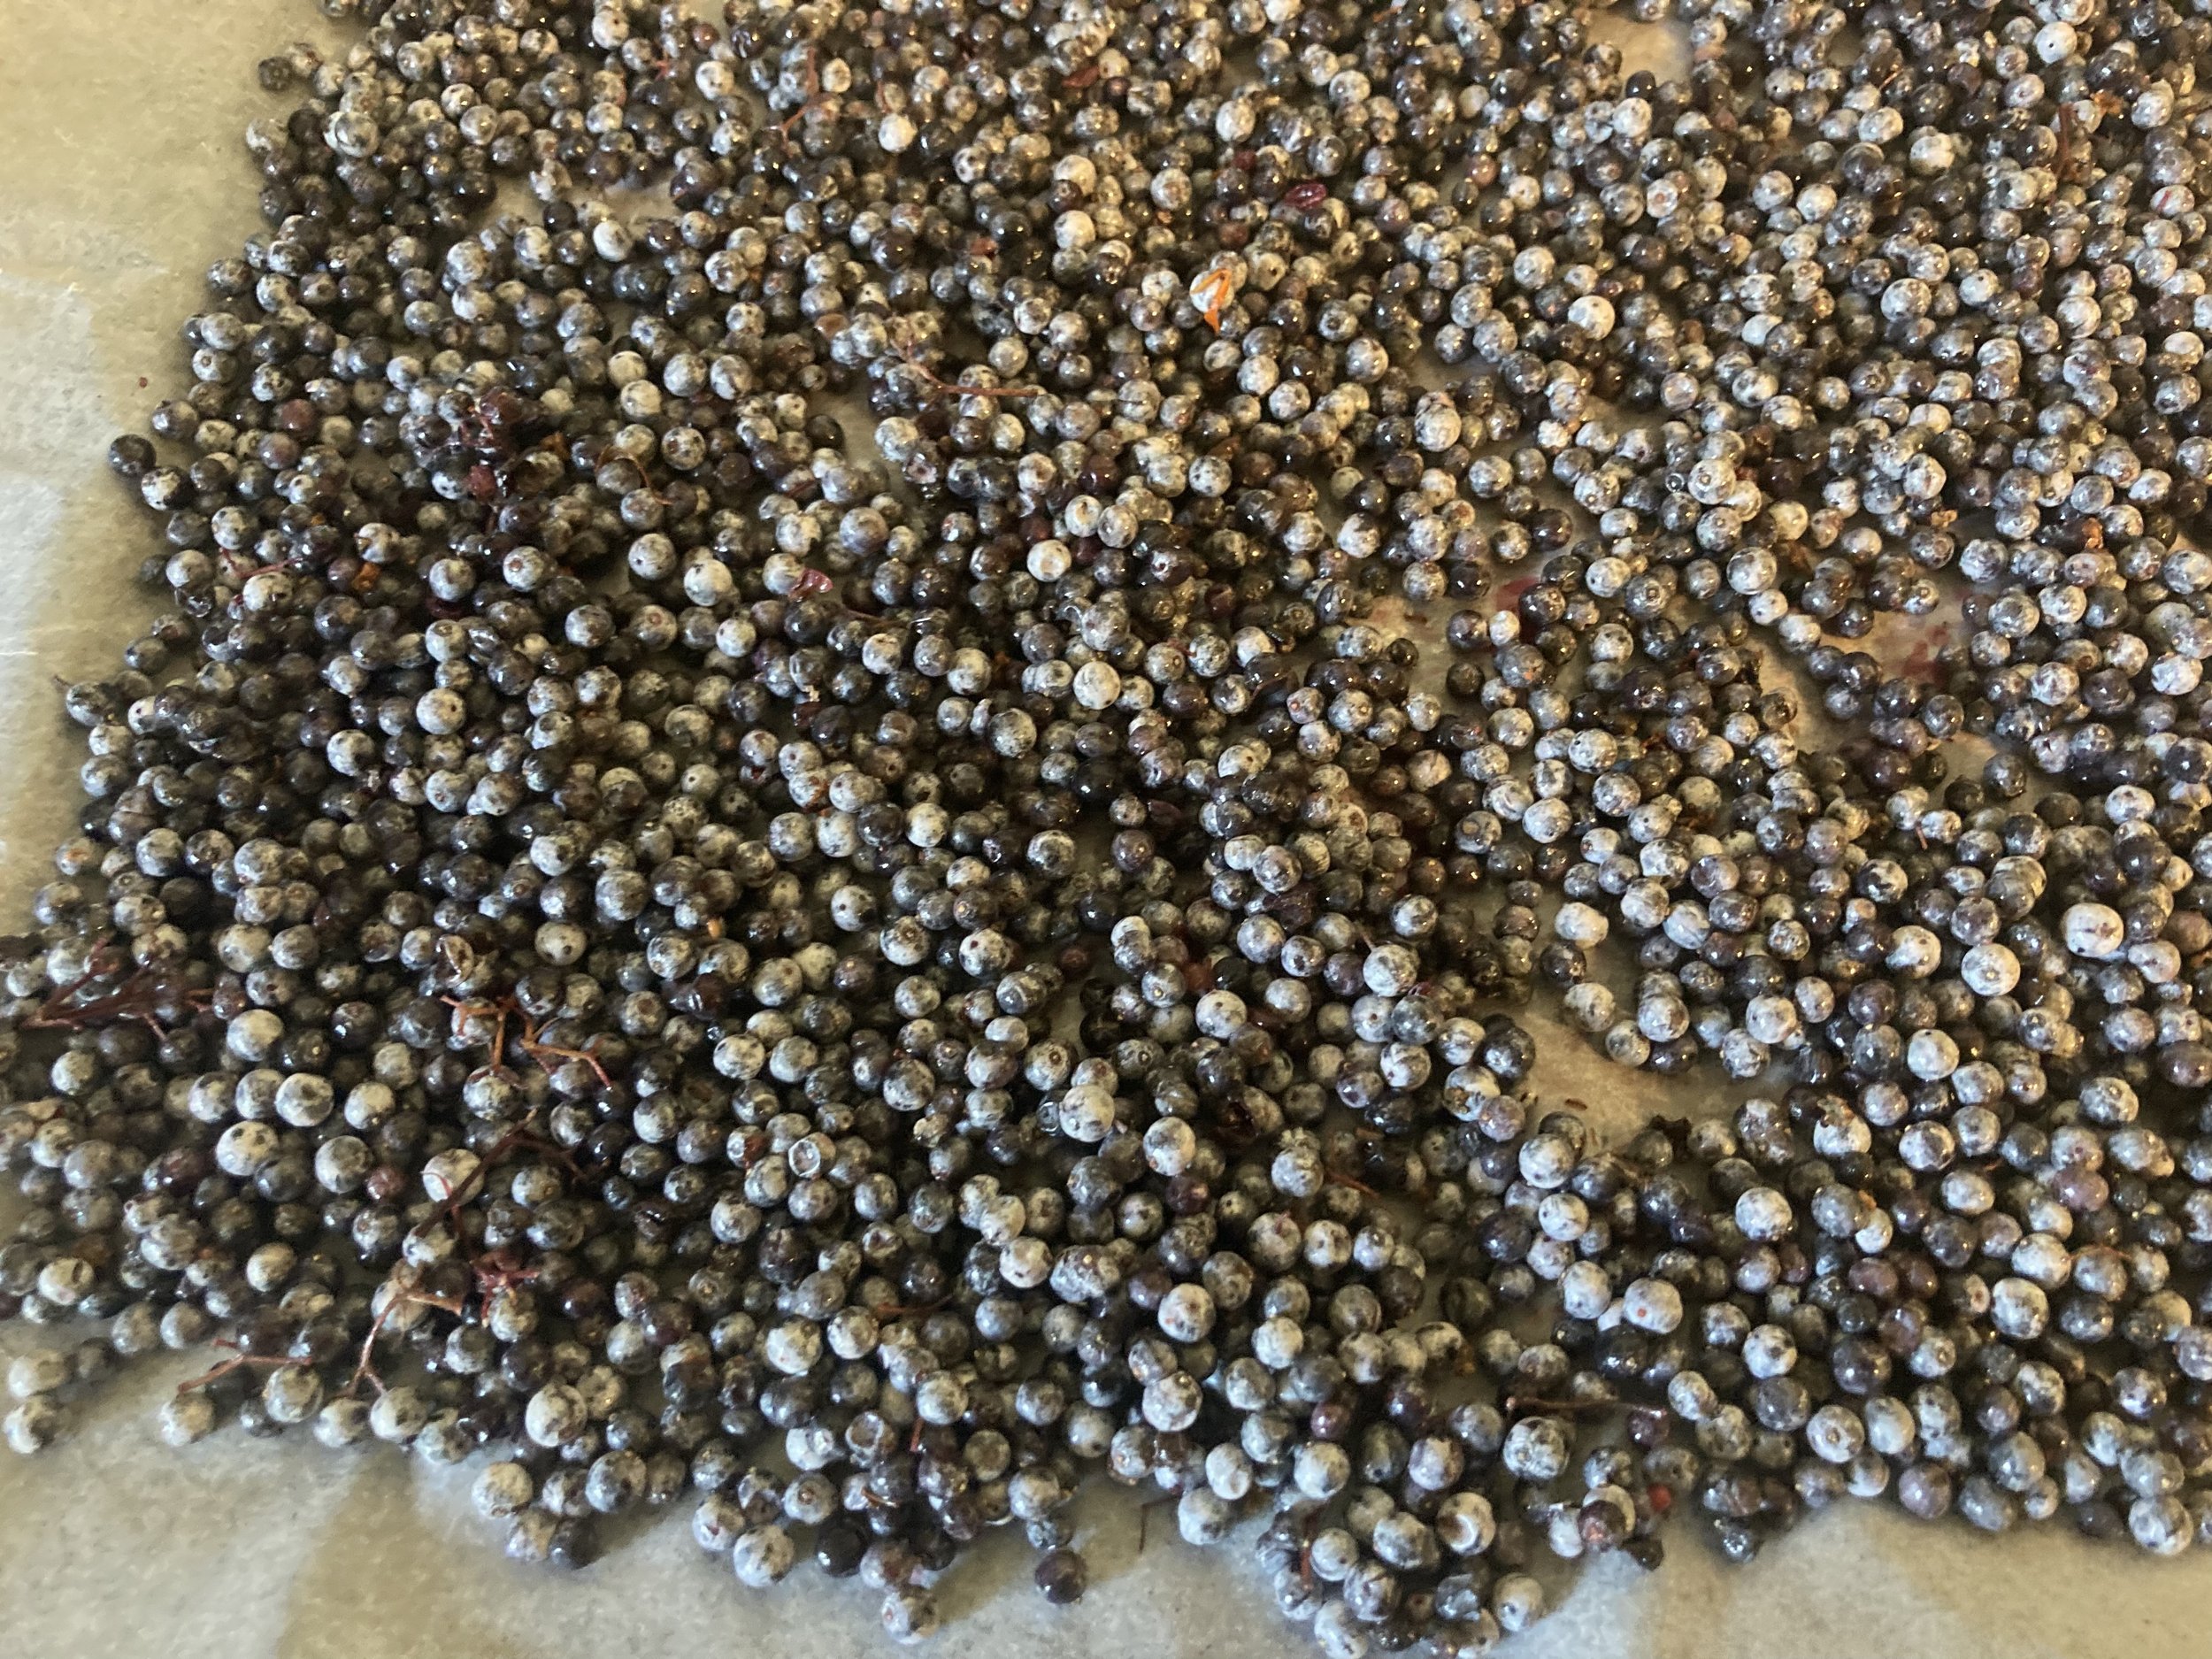
Dehydrating is an excellent choice for elderberries. Do not think you need a fancy dehydrator. Brand “X” may be the best brand but budget models such as Nesco get the job done. To dehydrate elderberries simply spread them in a thin single layer around your dehydrator tray. You will need to use a screen due to the small size of the dehydrated berries. Set the dehydrator temperature to 135℉-140℉. The berries should take between 10-12 hours to dehydrate but may take more or less on their juice level and your dehydrator. It is best to check them after 8 hours and they possibly may need up to 20 hours. Fully dehydrated elderberries are firm to the touch. Below is a comparison of fresh elderberries (right) and dehydrated elderberries (left). Dehydrated elderberries are still raw. But they store well and will stay fresh for at least a year or longer. Dehydrated elderberries can easily be made into medicine or added into baked goods.
Tincture
Tinctures are a form of extracting and preserving the medicinal properties of a plant using alcohol. Tinctures do not always taste very good. They tend to be bitter and unpalatable. Elderberry for me is an exception. The taste of the elderberry really shines through. The key to having the best tasting elderberry tincture is the alcohol. Vodka is the alcohol of choice for many herbalists because it is colorless, relatively flavorless, and free of additives. Use the best tasting alcohol in your budget. If the tincture is still too strong to consume you can add some water, juice, or honey to make the medicine taste better.
To create an elderberry tincture, you will need elderberries and a minimum of 80 proof (40%) drinking alcohol. I use local gluten-free (potato) vodka for all my tincture making.
You certainly can make a tincture using fresh berries. However, I find that drying them first eliminates any chance of spoilage due to excess water content. Making a tincture using the folk method is easy and it can be done in a mason jar. Fill the jar 1/3 full if using dried elderberries or 1/2 full if using fresh elderberries. Fill the rest of the jar with minimum 80 proof alcohol to 1” from the top. Cover with lid and place in a cool, dark location for 6-8 weeks. Be sure to remember to label your jar. Shake the jar every day, every few days, or as you remember. After you are done extracting the medicine use multiple layers of cheesecloth or a filter to remove the elderberries. Store in glass, preferably amber, in a cool, dark location. The tincture should be good for a minimum of three years.
Warning: herbal medicine making is addictive. Once you figure out how easy it is you may never go back to store bought herbal medicine again. If you are interested in buying a homemade with love herbal elderberry immune tincture from Mossygoat Farm click here.
Freezing whole berries
Flat freezing elderberries is also a good choice to preserve them. It is especially helpful if you plan on using them for baking or pie making later on in the season. Frozen elderberries are excellent for elderberry pies or for making baked goods such as the Mossygoat Gluten-free Elderberry Orange Pound Cake with Orange Glaze. If you cannot make elderberry jam immediately after picking them, freezing them and making jam later is also an option.
Flat freezing is simple. Line a cookie sheet with wax paper or parchment paper. Place a single layer of elderberries on the paper. Freeze overnight. Place in an airtight container such as a Ziploc bag. Elderberries will hold their freshness in the freezer for at least 6-8 months.
Remember, you are freezing RAW elderberries and the berries must be cooked to be edible. Put a reminder on the bag label so that you do not forget. They are not suitable for smoothies or snacking.
Freezing syrup or juice
Yes, you can freeze liquids in mason jars. All you have to do is follow some simple rules to help prevent breakage.
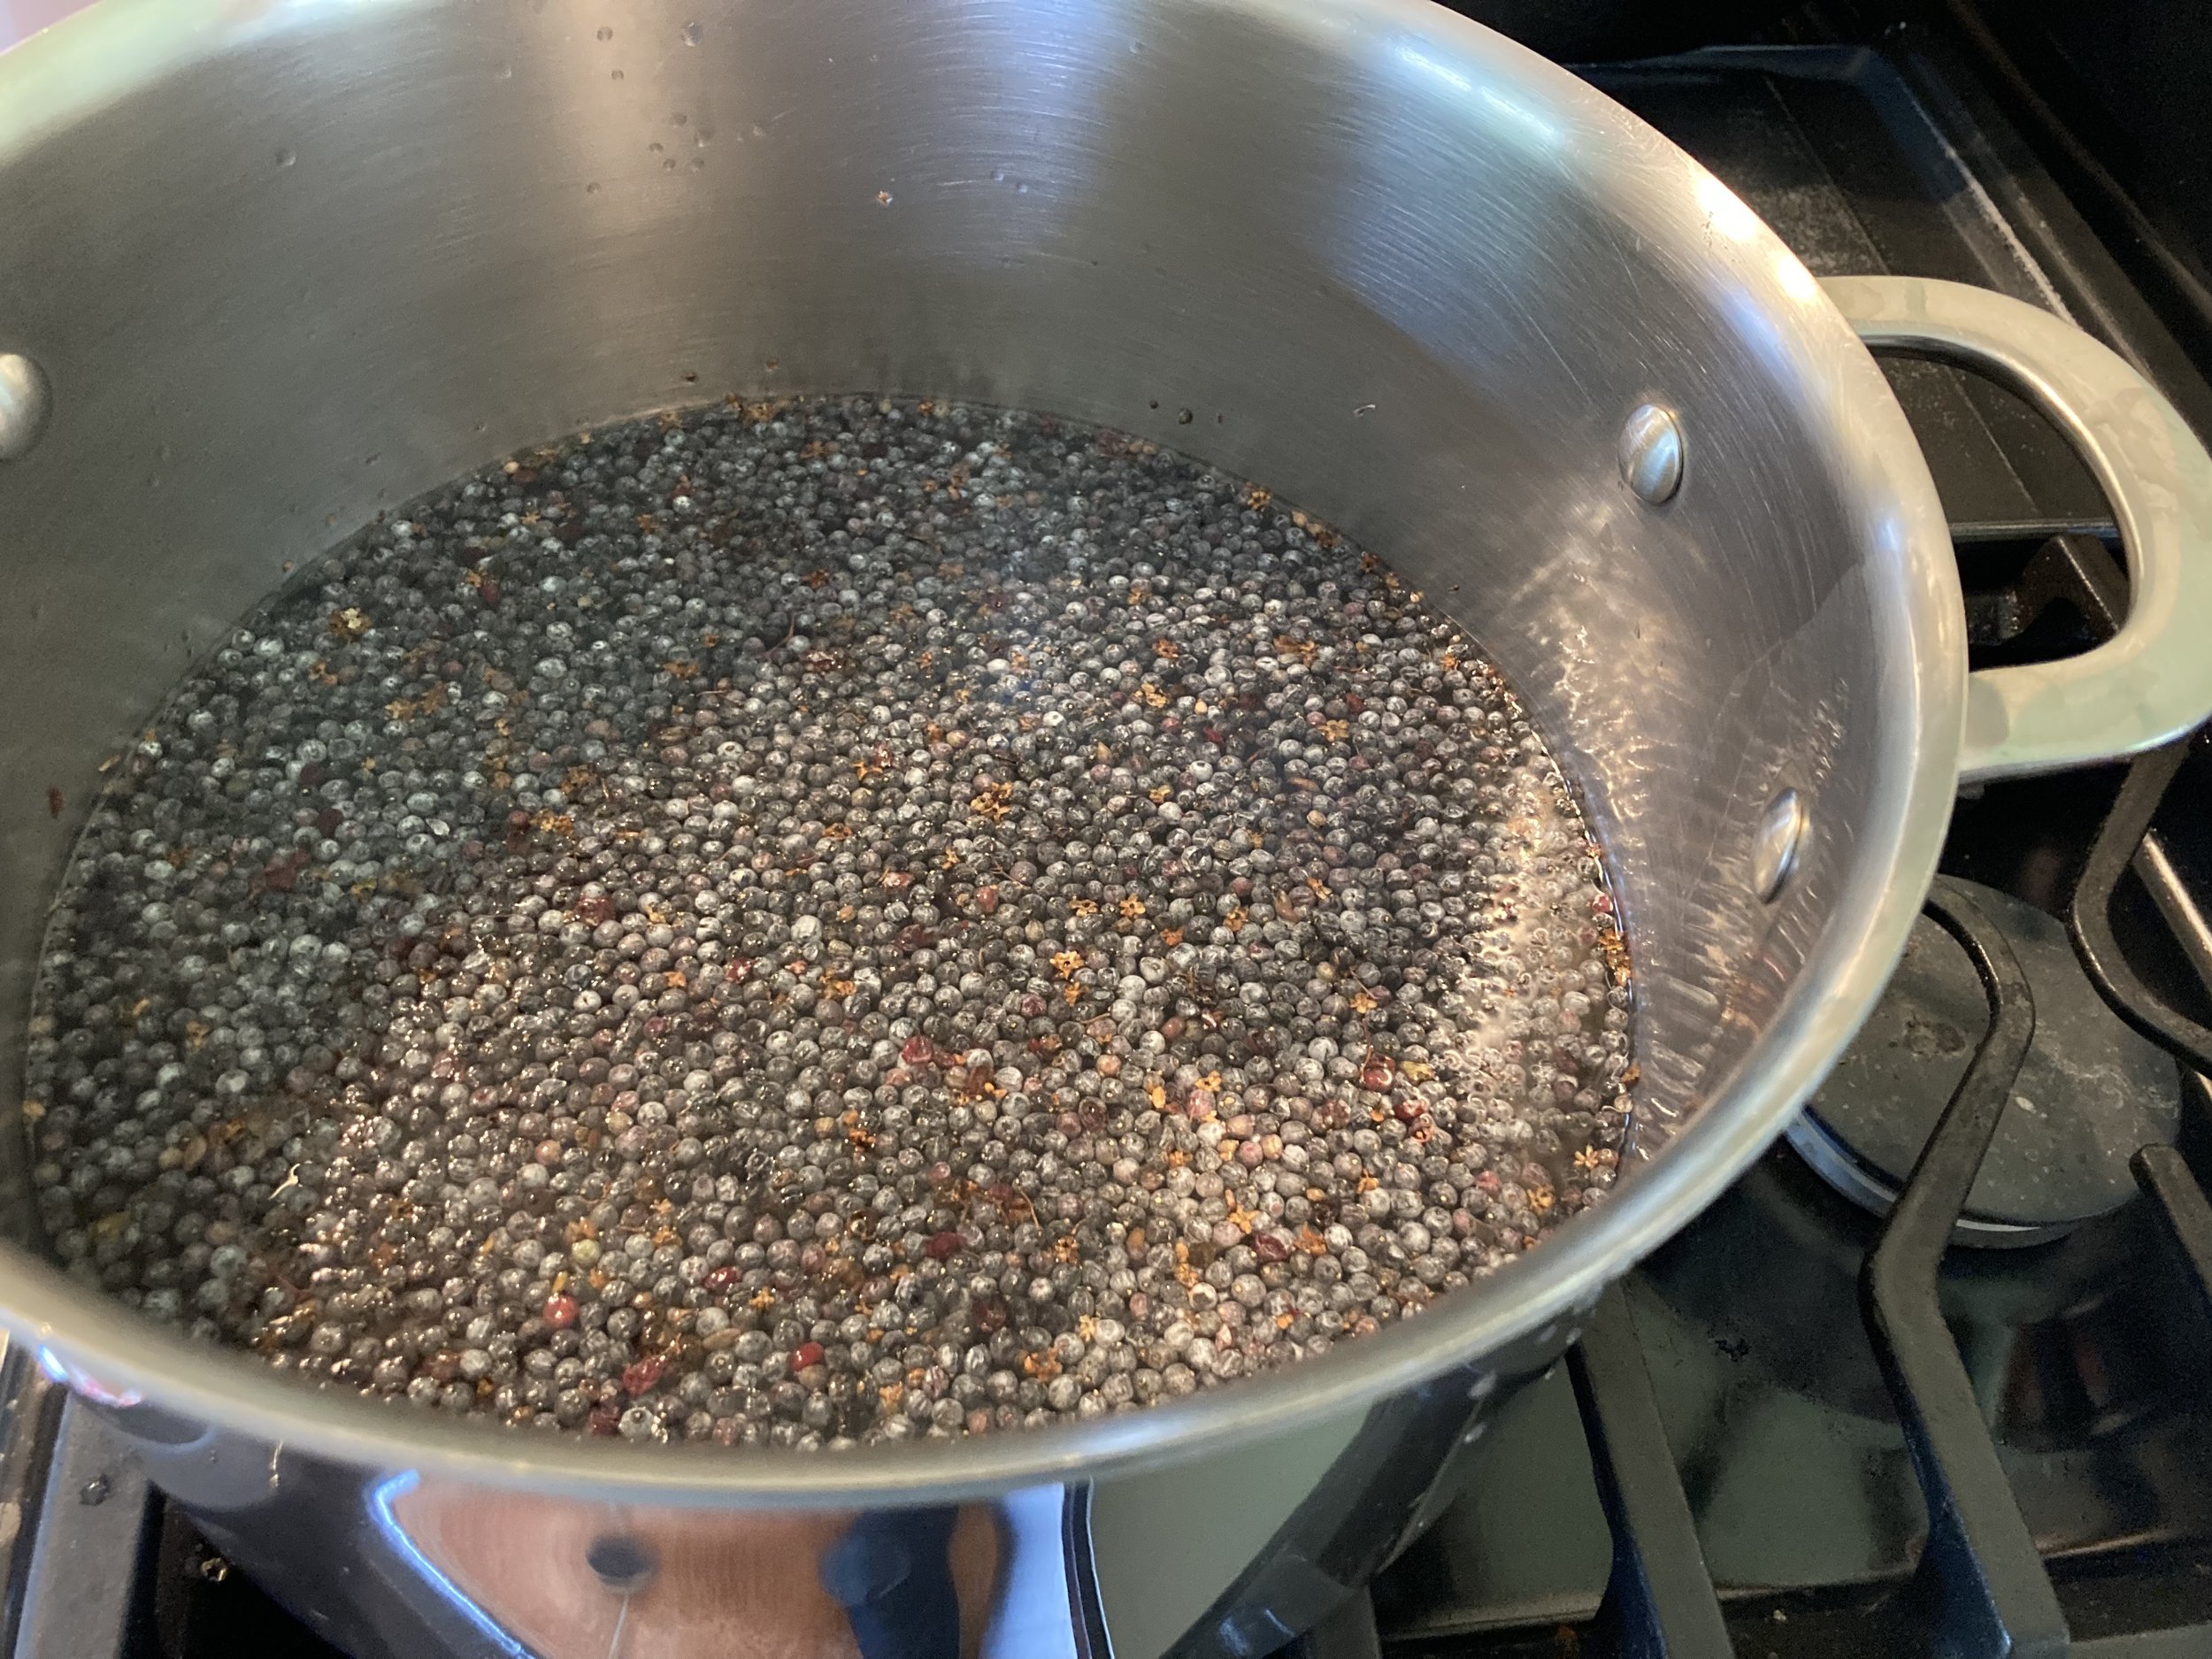
Making elderberry juice and syrup is also easy. Destem your elderberries and place in a non-reactive pot. Cover with an equal amount of water. Bring to boil with lid, reduce heat to simmer, and simmer for 30 minutes. Cool to room temperature, strain out elderberries, place in mason jars, and freeze. For more detailed instructions click here to read the Mossygoat guide to making elderberry juice and syrup.
Elderberry juice can be turned into a delicious beverage to use anytime that someone in your family starts to get sick. Just add a little bit of honey and you have a healthy immune boost.
Elderberries are truly a powerhouse of immune boosting nutrition and well worth the hunt it often takes to find them. Remember to not take all the elderberries that you find in the wild. A good rule of thumb is to take no more than a quarter of what you find. The birds need the elderberries too, especially because they help spread the seed. Leaving elderberries for your fellow foragers is also proper foraging etiquette.
Dehydrating, flat freezing, making a tincture, and freezing juice or syrup are all methods of preserving your elderberry harvest without canning. Questions? Feel free to email us, we love questions!


